Toilets are a fundamental part of modern households, ensuring hygiene and convenience. Yet, like any equipment, they can malfunction occasionally. One of the most common issues homeowners face is a running toilet caused by a faulty flapper. Understanding how to tackle the problem by adjusting the toilet flapper is crucial. This guide is designed to walk you through the process step by step without getting your hands too dirty.
Understanding The Importance Of A Toilet Flapper
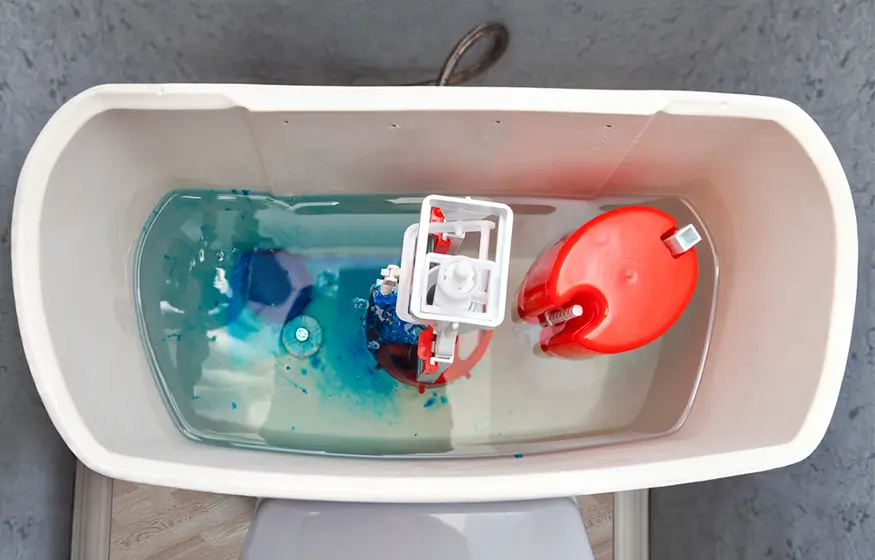
Before delving into the nitty-gritty of adjustment, it’s essential to understand what a flapper does and why it’s vital. The flapper is a rubber mechanism that sits at the bottom of the toilet tank. When you flush, the flapper lifts, allowing water to flow from the tank into the bowl. Once the tank is empty, the flapper settles back into place, sealing the tank so it can refill for the next use. If the flapper isn’t sealing correctly, it can cause the toilet to run continuously or not flush at all. That’s why adjusting it is so essential.
Common Flapper Problems And Their Causes
In most cases, a running toilet can be traced back to a flapper issue. Some common problems include:
- Wear and tear: Over time, the rubber of the flapper can deteriorate, preventing it from sealing the tank properly.
- Misalignment: Sometimes, the flapper can become misaligned, causing it not to sit right.
- Chain length: The chain connecting the flapper to the flush handle might be too short or too long. If it’s too short, the flapper might not seal correctly. If it’s too long, it can get trapped under the flapper, preventing it from sealing.
Adjusting Your Toilet Flapper: A Step-By-Step Guide
Before you begin any repairs or adjustments, always shut off the water supply to the toilet. This valve is typically located on the wall or floor near the base of the toilet. Turn it clockwise until tight.
Examine The Chain
Lift the lid off the toilet tank and inspect the chain connecting the flush handle to the flapper. If the chain is too tight, it can prevent the flapper from sealing. If it’s too loose, it can get trapped under the flapper. Adjust the chain’s length so that there’s a slight slack when the handle is not being pressed.
Check The Flapper’s Alignment
Ensure that the flapper is correctly aligned with the overflow tube. If it’s off-center, gently reposition it. If you’ve addressed the chain and alignment but still face issues, the rubber might be the culprit. Feel the flapper’s rubber. If it’s brittle, hard, or warped, it may need replacement rather than adjustment.
Test Your Adjustments
Once you’ve made the necessary adjustments, turn the water supply back on and allow the tank to refill. Flush the toilet a couple of times to ensure the flapper is functioning correctly.
When to Call A Professional
While adjusting the flapper can solve many common toilet issues, it’s not a cure-all. If you’ve made the necessary adjustments and still face issues, or if you’re not comfortable making these adjustments yourself, it might be time to call a plumber. Professionals can quickly diagnose and fix more complex problems, ensuring your toilet functions properly for years to come.
A continuously running toilet isn’t just annoying; it can also waste a significant amount of water and increase your utility bills. However, by understanding the role of the flapper and knowing how to adjust it, you can often solve the problem without needing to call in a professional. Remember to always shut off the water supply before making any adjustments and to test your work thoroughly before considering the job done. With a bit of patience and a keen eye, your toilet will be back in tip-top shape in no time.