Turning off your water heater is an essential household skill, particularly crucial in emergencies or when performing maintenance. Understanding how to turn off water heater with precision can avert potential water damage, gas leaks, and other hazardous conditions. This detailed guide presents six comprehensive steps to ensure you can safely and effectively manage your water heater’s shutdown process. Whether confronted with a leak, a malfunctioning pilot light, or preparing for routine checks, these instructions will guide you through each stage with clarity and efficiency.
Step One: Locate Your Water Heater
Locating your water heater is the foundational step in the process of maintenance or emergency handling. This task might appear simple, yet in many homes, water heaters are installed in out-of-the-way places that do not see regular traffic, such as utility closets, basements, garages, or even attics. The location is often chosen based on the architecture of the home and the most efficient routing for plumbing and power supply, which can lead to water heaters being placed in spots that are not immediately obvious to the homeowner.
In apartment complexes or homes with shared facilities, the water heater may not be within your immediate living space. It could be located in a central utility room or a specially designated area, possibly shared among several units. This arrangement necessitates a good understanding of the property layout and the specific protocols for accessing these shared or remote facilities. Being proactive in locating and familiarizing yourself with your water heater’s position ensures that, should a problem arise, you can respond swiftly and efficiently.
Knowing the exact location of your water heater, how to access it quickly, and ensuring you have the necessary tools or keys to do so are critical components of home maintenance preparedness. This knowledge can drastically cut down on the time it takes to address any issues, thereby reducing the potential for damage. Additionally, familiarizing yourself with the surroundings of the heater can aid in identifying any potential hazards or obstacles that may need to be navigated during maintenance or in an emergency.
Step Two: Turn Off the Power Supply
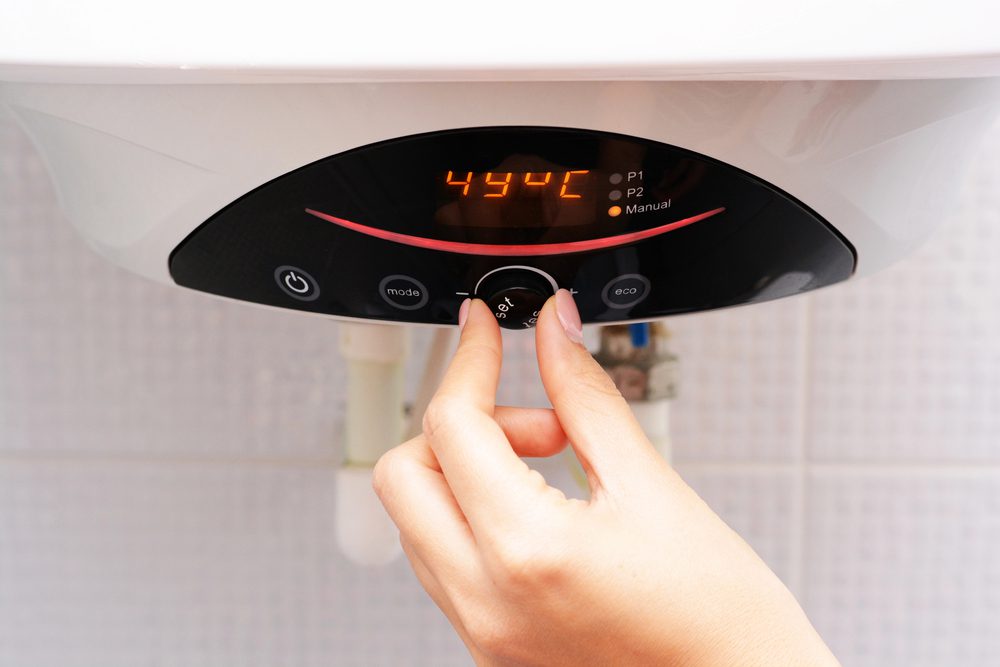
Disconnecting the power supply to your water heater is a critical safety measure that must be undertaken with care and precision, whether you’re gearing up for maintenance or addressing an immediate issue like a leak. For those with gas water heaters, the process involves a straightforward but crucial action: locating and adjusting the temperature dial. Typically found at the tank’s lower front, this dial controls the gas flow. Turning it to the “off” position effectively halts the heating process. This not only stops the water from heating but also prevents the risk of gas leaks or damage to the system during downtime, ensuring a safer environment for any work to be done.
For electric water heaters, the approach differs slightly but is equally important. The task requires locating your home’s breaker box, a component that might be situated on an exterior wall, in the garage, or in another utility space. Within this box, you’ll need to identify the specific breaker dedicated to the water heater. Flipping this breaker to the “off” position cuts the electrical supply to the unit, eliminating any risk of electrical shock during maintenance activities. This step is essential not only for safety but also to prevent any damage to the electrical system or the water heater itself as you proceed with repairs or checks.
Step Three: Shut Off the Water Supply
Shutting off the water supply is a critical step in learning how to turn off water heater, ensuring the safety and efficiency of water heater maintenance. After disconnecting the power, the focus shifts to the water heater’s supply line. This line, typically located near the heater’s top, is equipped with a shut-off valve, a key component in controlling the flow of water into the unit. Engaging this valve to the off-position ceases water flow, effectively isolating the heater from the home’s water supply and safeguarding against potential water mishaps during the maintenance process.
It’s not uncommon for this shut-off valve to present some resistance when being turned, especially in systems that have seen little to no adjustments over time. Factors like mineral buildup from hard water can contribute to this stiffness, making the valve harder to operate. In such instances, applying steady and controlled pressure is advisable. The goal is to engage the valve without causing any damage. Overexerting force could lead to breakage, resulting in leaks that could escalate into more serious issues.
Step Four: Drain the Water Heater
Draining the water heater is a pivotal step in the maintenance process, particularly essential when it’s time to remove sediment buildup or undertake tank repairs. This sediment, if left unchecked, can significantly reduce your water heater’s efficiency and lifespan. To start the draining process, securely attach a garden hose to the boiler drain valve, found at the heater’s base. Ensure the other end of the hose is positioned either outdoors or in a substantial container to collect the water. This setup is crucial to manage the water flow effectively and avoid any unnecessary mess or water damage in your work area.
Once everything is properly connected, proceed to open the boiler drain valve. Water should start flowing through the hose, initiating the draining process. It’s important to allow the tank to drain completely, ensuring all sediment and water are removed. This step might take some time, depending on the size of your water heater and the amount of sediment present. Throughout this process, ensure you monitor the water’s discharge, making adjustments as necessary to prevent overflows or spills.
Step Five: Turn Off the Gas Supply (For Gas Water Heaters)
When it comes to managing the safety of your home, especially with gas water heaters, understanding the proper way to turn off the gas supply is paramount. This step is crucial not only for performing routine maintenance or repairs but also for preventing possible hazards. The gas supply line, typically found in close proximity to your water heater, will have a lever or knob designed for manual control of the gas flow. Identifying this control mechanism is essential for any homeowner.
For levers, the safety protocol involves turning it to a position perpendicular to the pipe it’s attached to. This orientation is a universally recognized indication that the valve is closed, thereby halting the flow of gas. In the case of a knob, rotating it in a clockwise direction until it can no longer turn ensures that the gas is securely shut off. These actions serve as a critical safeguard, cutting off the fuel source to the water heater, thus mitigating the risk of gas leaks, which can lead to hazardous situations including fires or explosions.
Familiarizing yourself with the gas supply valve and how to operate it can be invaluable in emergency situations where quick action is needed to prevent harm. It’s advisable for all household members to know the location of the gas valve and understand how to turn it off. Regular checks to ensure the valve operates smoothly and is not obstructed or stiff can make this safety step more manageable when it’s urgently needed. Taking these precautions seriously contributes significantly to the overall safety and well-being of your household.
Step Six: Open the Relief Valve
The relief valve, often overlooked, plays a crucial role in the safe operation and maintenance of your water heater. This valve, typically found at the top of the unit, acts as a safety device designed to release excess pressure if the water heater’s internal pressure exceeds safe levels. In the context of shutting down your water heater, opening the relief valve is a vital step to ensure that as you drain the tank or perform maintenance, you’re not creating a potentially hazardous pressure buildup within the system.
When opening the relief valve, it’s important to proceed with caution. The water inside the heater can be extremely hot, and the release of pressure can cause it to expel rapidly, posing a risk of scalding. To mitigate this risk, gently lift or turn the valve, standing to the side as much as possible. This careful approach allows air to enter the tank, balancing the pressure and preventing a vacuum from forming as the water is drained. It’s a measure that not only safeguards the tank from damage but also protects you from potential harm.
Moreover, understanding the function and operation of the relief valve can provide insight into the health of your water heater. Thus, while opening the relief valve is a critical step in the process of turning off your water heater, it also serves as a reminder of the importance of routine maintenance and safety checks. This final precaution ensures that your water heater is safely decommissioned, ready for maintenance, and continues to operate safely for years to come.
At Made’s Plumbing, we specialize in comprehensive Texas water heater repair, addressing everything from minor issues to major breakdowns. Our expertise ensures that whether you’re facing a leak, inefficiency, or a complete system failure, we have the skills and experience to get your water heater running smoothly again. With our dedication to quality service and customer satisfaction, we’re equipped to handle all aspects of water heater maintenance, repair, and replacement. Trust us to provide fast, reliable, and affordable emergency plumber solutions to all your water heater needs, ensuring your comfort and safety.