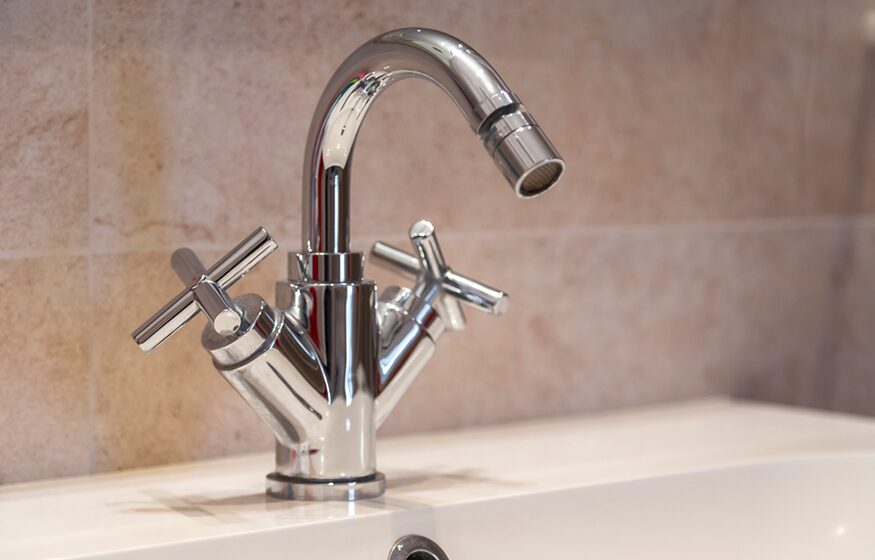
A dripping sound echoing from the bathroom can be more than just a minor annoyance; it can be a sign of a leaking bathtub faucet. Left unattended, this seemingly small problem can lead to increased water bills and potential damage. Luckily, with a few tools and some patience, homeowners can usually tackle this issue without professional help. Let’s embark on a step-by-step journey to bid farewell to that incessant drip.
Understanding The Cause
Before diving into repairs, it’s beneficial to understand the common causes of a leaky faucet. Often, the culprit lies in a worn-out washer or cartridge, the components responsible for controlling the water flow. Over time, due to the constant pressure and water exposure, these parts can deteriorate, leading to an annoying drip. Now that we’ve pinpointed the possible cause, let’s move on to the repairing process.
Gathering Essential Tools
To ensure a smooth repair process, having the right tools at hand is crucial. Typically, you’ll need adjustable pliers, a screwdriver, replacement parts like washers or cartridges (depending on your faucet type), and Teflon tape. Having everything within arm’s reach will streamline the procedure, making it efficient and hassle-free.
Shutting Off The Water Supply
Before delving into the faucet’s internals, it’s imperative to shut off the water supply to the bathtub. The last thing anyone wants is an unexpected spray of water. The shut-off valve can usually be found near the bathtub or in some cases, might require you to shut off the main water supply to the house. Once done, turn the faucet on to drain any residual water and release trapped pressure.
Dismantling The Faucet
Begin by removing the faucet handle. This often requires popping off a decorative cap on the handle, revealing a screw underneath. Unscrew this, and you should be able to remove the handle with ease. Beneath the handle, you’ll find the stem, which is typically held in place by a nut. Using adjustable pliers, remove this nut, and the stem should come off without a hitch.
Inspecting And Replacing The Culprit
With the stem in hand, inspect it for any signs of wear. In compression faucets, a rubber washer at the end of the stem is often the cause of leaks. If it appears worn out or damaged, replace it. For faucets with cartridges, examine the cartridge for signs of damage. In most cases, replacing the old cartridge with a new one will solve the issue.
When securing the new parts in place, it’s a good idea to wrap the threads with Teflon tape. This ensures a watertight seal, reducing the chances of future leaks.
Reassembling The Faucet
With the damaged parts replaced, it’s time to put everything back together. Start by reinserting the stem into the faucet and securing it with the nut. Once it’s tight and properly seated, place the handle back on and secure it with its screw. If there’s a decorative cap, snap it back in place.
Testing Your Work
Turn the water supply back on and test your faucet. Let it run for a few moments, then shut it off and inspect for any drips. If everything appears dry and the drip has been silenced, congratulations are in order! You’ve successfully addressed your leaking bathtub faucet.
A leaky faucet, while bothersome, is a manageable problem for most homeowners. With a bit of patience, the right tools, and a methodical approach, the issue can be fixed in no time. It’s always rewarding to address household repairs on your own, not just for the sense of achievement but also for the savings in potential repair costs. However, if the leak persists or you feel uncertain at any step, it’s wise to seek professional plumbing assistance. Sometimes, a plumber’s expertise is the best solution.