The project of a water heater installation is one that can be done on your own provided you have the right materials and tools. You also need to know your way around those tools, plumbing, and more. However, this is the kind of job that may be better left to a professional. That said, the following is a condensed instructional guide to water heater installation.
What You’ll Need
You’ll need the following materials and tools to install your own water heater:
- Garden hose
- Electric water heater flexible hose kit
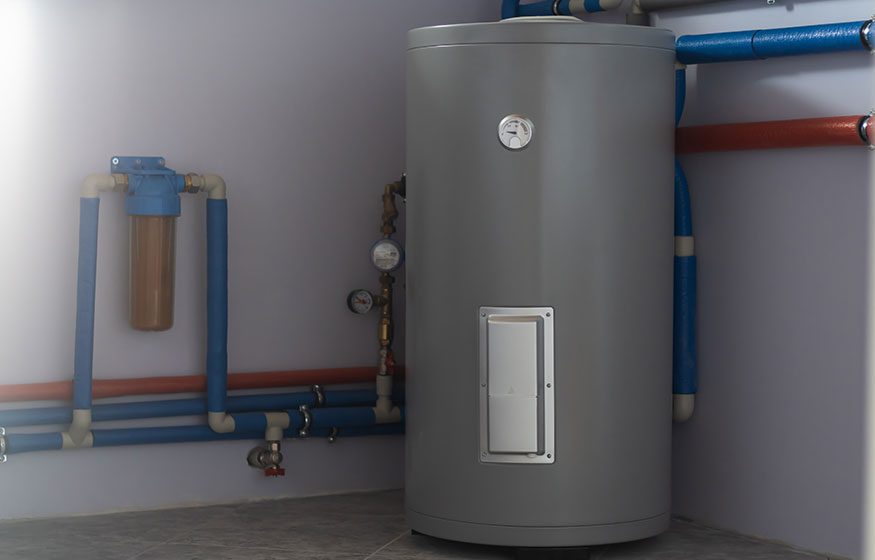
- Electric water heater
- Water heater drain pan
- Buckets
- Pipe cutter
- Pencil
- Hand truck
- Gloves
- Adjustable wrench
How to Remove That Old Water Heater
Though the following steps entail specifics, here is a brief summary of how to remove your old water heater:
- Be sure to turn the power supply off.
- Run the hot water from faucets to cool down the water. Then shut off the supply for your cold water.
- Drain the water heater.
- Remove the tank.
Installing Your New Water Heater
Again, there are specifics to each of these steps, but we tried to simplify things as much as possible. Please keep in mind that your best course of action when it comes time to install a new water heater is to rely on a professional. However, here is a condensed version of water heater installation:
- Position the new heater and drain. Put the new water heater in a drain pan to prevent flooding. Connect the PVC pipe from the drain pan to a drain.
- Install the T and P valve. You need to install a new one if your water heater doesn’t have this valve. Secure the new valve in place. Don’t use the old valve. Note: Before you purchase this type of valve, make sure to check the required stem length for your precise water heater model.
- Install the discharge pipe. It should be positioned toward a floor drain. To catch any water, place a bucket underneath if there is no floor drain.
- Connect the water supply. For this, you can use the hose kit. Use plumber’s tape on the heat trap nipple threads. The hoses can then be attached.
- Install the fittings. In some areas it is necessary, to reduce corrosion between different metals, to use dielectric fittings. Check local codes and ordinances.
- Secure the fitting. Apply plumber’s tape to the threads of the connector body. Fix the fitting to the hose with a little slack. Position the hose against the pipe, mark the pipe, and cut it to the appropriate length.
- Tighten the compression nut. Slide the ring and compression nut on the pipe. Tighten the nut after you insert the pipe into the fitting.
- If required, seismic straps should be installed. For proper installation, refer to the manufacturer’s instructions.
- Fill the tank. Take the aerator off a nearby faucet and turn on the hot water side. Gradually turn on the water and inspect all connections around the water heater for leakage.
- Flush the tank. Open a bathroom faucet to let the water run and flush out any air and debris from the water tank. Note: Ensure that the tank is completely filled with water before connecting the wiring to prevent dry firing because that can damage the heating element.
- Connect the wiring. Remove the cover plate of the junction box on the water heater. To the green ground screw, attach the ground wire. The wires should be twisted together using wire connectors.
- Turn on the power. Replace the junction box cover and turn the power on at the circuit breaker. If your new water heater does not have power, switch off the circuit breaker and double check your connections.
- Set the water temperature. Refer to the manufacturer’s instructions to set the water temperature to 120°F.
- Check the discharge pipe. After a few hours, inspect the discharge pipe connected to the T and P relief valve. If you see water dripping from the pipe, the pressure is too high. Adjust the pressure to below 80 psi.
- Check for aeration. If any faucet stops running properly after installation, take off the aerator from the problem faucet and allow the water run for a several minutes to clear out any loose sediment. Place it back onto the faucet after you rinse the aerator.
Need Your Water Heater Repaired or Installed?
When you need a Texas water heater repair – or if you’ve decided it’s time for a brand-new water heater – there is no one better than the professionals at Made’s Plumbing, LLC. But we don’t stop at water heaters! Clogged drain? We can help. Toilet leaking or not working properly? We can fix it or replace it. For any plumbing need you have, contact us before you call anyone else. If it’s an emergency, we’ll get there ASAP!
Call 817-962-2257 or use our convenient online form to get in touch.