How To Replace A Broken Toilet Handle: A Step-By-Step Guide

Is the flush handle on your toilet broken, rusty, pitted, or just plain looking? Or perhaps it is constantly loose despite your repeated attempts to tighten the nut within the tank. Here are the DIY steps to fix it.
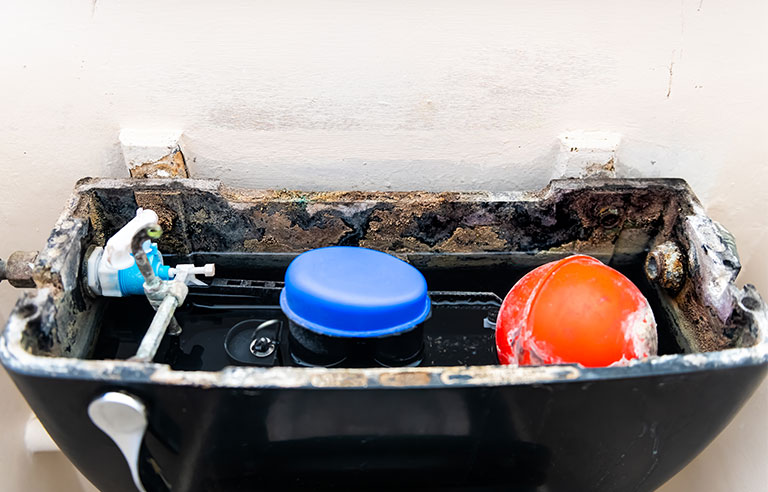
Open the Tank
The tank lid should be taken off and placed in a safe location on a towel. Be careful with it, as porcelain is fragile. In addition to the brand name on the outside, look for a model name or number printed inside the tank and note it down. When you buy a replacement handle, this can come in handy.
Take the Lift Chain Off
You’ll notice that the handle is fastened to a lengthy arm that extends from the tank, and that the arm is connected to a chain that lifts the flush valve. After noting which of the three or more arm holes the chain is attached to, you can remove the clasp that secures the chain to the arm.
Remove the Existing Handle
To remove the nut holding the handle in place inside the tank, use a crescent wrench. Be careful because the majority of toilets have nuts with left-handed threads, which turn the other way from how a typical nut would. To loosen the nut, crank it clockwise.
Get a Replacement
The replacement component that you require is a “toilet trip lever,” which comes with the handle and swing arm. These sell for less than $20 at retail, but models for expensive toilets can go from $50 to $100. Despite the fact that certain trip levers have the title “universal replacements,” there is no such thing. There are variations in the placement on the tank, the length and angles of the arms, and the design and finish of the handle.
Ask your merchant for assistance in selecting the appropriate fit when you visit a plumbing supply or home center that offers your brand of toilet. Bring along the model number and brand information, as well as the old handle if you can. This will help you select a new toilet handle that fits.
Attach the New Handle
In order to remove any rust or mildew stains from the porcelain near the handle hole, use a soapy scrub sponge. After removing the nut from the new handle, put the arm into the hole. Then, slide the nut back over the arm and hand-turn it onto the handle base.
Firm it up with a crescent wrench, but don’t tighten it too much as that could shatter the porcelain.
Secure the Chain
Attach it to the old arm’s hole using the same clip. Do some test flushes after that. The flush mechanism should fully open and close. The tank won’t empty completely if the chain is too loose. If the chain is too tight, the flush valve may not seat properly and leak continuously.
Change the hole that the chain is clipped to or move the chain up or down a couple of links. Repeat tests until the flush is flawless. Replace the tank lid when you’re satisfied with the results.
For professional toilet repair or emergency plumbing services, reach out to Made’s Plumbing!
