In order to minimize damage and expensive repairs to floors, walls, and ceilings, you must take immediate action if a water pipe is leaking. While a comprehensive repair will require the services of an emergency plumber, we’ll show you how to mend leaking pipes temporarily to limit the damage until a professional arrives.
Here are 5 methods to fix leaking pipes.
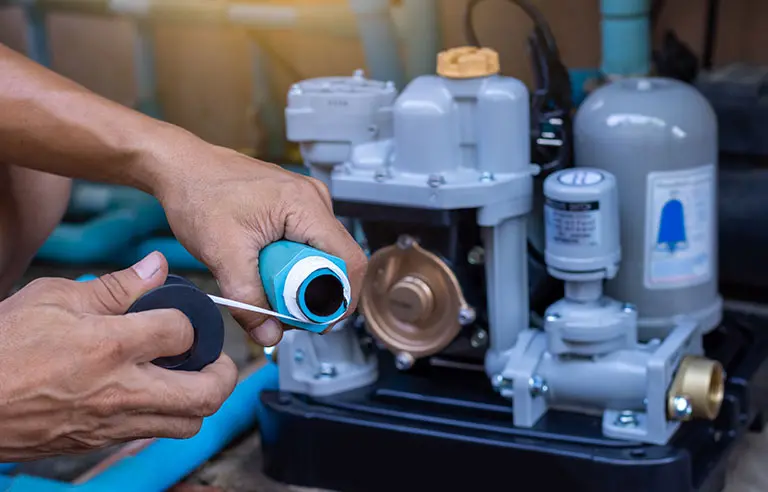
Use Pipe Wrap Tape
Small leaks in pipes or at pipe joints may be effectively sealed with self-fusing pipe tape by creating a compression seal over the leak. Wrap the damaged area with tape as you stretch it around the pipe. Overlap the tape to make it adhere to itself and create a watertight seal. When you don’t have time to cut off the water supply, pipe wrap can come in handy as a quick temporary fix.
Use Epoxy Putty
You can use two-part epoxy repair putty to patch up leaking pipes. After carefully cleaning the pipe and drying the area around the leak, use some sandpaper to roughen the surface. After gathering enough of each of the two components to completely conceal the leak, knead them together. The putty should have a solid hue once you’ve correctly blended the compound. In order to cover the damaged area, press the compound over the leak and shape it around the pipe. You might need to apply pressure on the putty as it sets, depending on the product. Fit the material into position and rapidly scrape off any excess material because it tends to harden in just a few minutes.
Use a Pipe Repair Clamp
As a metal band and rubber gasket fastened with bolts, pipe repair clamps can temporarily fix a leak along the length of a pipe. Different sized clamps allow you to fix a large range of leak sizes. Start by removing the bolts holding the clamp in place. Make sure the rubber seal completely encloses the leak before placing the clamp over the pipe. Tighten the bolts using a wrench to compress the rubber gasket against the pipe.
Use a Slip Repair Coupling
The undamaged pipe segments can be connected using a push-to-connect slip coupling after the damaged section has been removed. This applies when you’re fixing leaking copper or chlorinated polyvinyl chloride (CPVC) pipes. You might be able to utilize this kind of fitting for long-term repairs depending on the fitting and your area’s plumbing regulations.
Use a Crimp Tool
Most PEX pipe leaks happen at connections, where crimp rings compress the pipe against an interior fitting to keep it in place. If this is the case, use a crimp tool. Firstly, examine the crimp ring at the leak using the go/no-go gauge. It is often possible to stop a leaking connection by re-crimping it if the ring does not fit into the test slot for the pipe diameter you are using. Check the ring once again with the gauge after crimping. If it still won’t fit, make a small adjustment to the crimping tool to increase the compression of the ring. The leak should be rectified once the crimp ring slides into the correct slot on the test gauge.
If your leaking pipe persists or is too damaged, consider hiring a professional to resolve the problem effectively. Made’s Plumbing has years of experience providing top-notch plumbing services in Texas, specializing in services such as faucet repair, toilet repair, and more!