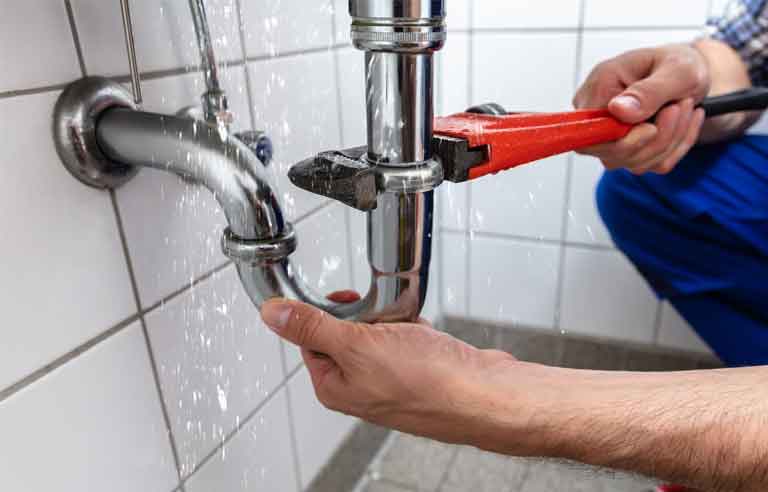
A Toilet Water Supply Line Replacement Guide
When it comes to plumbing maintenance and toilet repair, one common task that many homeowners encounter is replacing a toilet water supply line. Whether you’re dealing with a leaky or old supply line or simply want to upgrade to a more durable option, knowing how to replace it yourself can save you both time and money. In this guide, we will walk you through the steps of a toilet water supply line replacement, providing you with the knowledge and confidence to tackle this DIY project. Let’s get started!
Gather Your Tools and Materials
Before embarking on the task of replacing your toilet water supply line, it’s crucial to make sure you have all the necessary tools and materials readily available. To ensure a smooth and efficient replacement process, gather the following items: an adjustable wrench, pliers, Teflon tape, a new toilet water supply line (be sure to select the appropriate length and material for your needs), and a bucket or towels to catch any water that may spill during the procedure.
Turn Off the Water Supply
To start the replacement process, you must first turn off the water supply to your toilet. Locate the shut-off valve, which is usually located on the wall or floor behind the toilet. Turn the valve clockwise until it is fully closed. This step is crucial to prevent water from gushing out when you disconnect the old supply line.
Remove the Old Toilet Water Supply Line
With the water supply turned off, use your adjustable wrench to disconnect the old water supply line from both the shut-off valve and the fill valve on the bottom of the toilet tank. Be prepared for a small amount of water to drain out, so have a bucket or towels ready to catch any spills.
Install the New Toilet Water Supply Line
Now that the old supply line is removed, it’s time to install the new one. Start by wrapping the threads of both the shut-off valve and the fill valve with Teflon tape. This will create a watertight seal when you connect the new supply line. Next, attach one end of the new supply line to the shut-off valve and tighten it securely with your adjustable wrench. Then, attach the other end of the supply line to the fill valve on the bottom of the toilet tank and tighten it as well.
Completing the Replacement
With the new toilet water supply line securely in place, you can now turn the water supply back on by turning the shut-off valve counterclockwise. Slowly open the valve to allow water to flow into the toilet tank. Check for any leaks around the connections; if you see any, tighten them a bit more.
Toilet Water Supply Line Replacement
Replacing a toilet water supply line may seem like a daunting task, but with the right tools and our step-by-step guide, it can be a manageable DIY project for any homeowner interested in plumbing. By following these instructions, you can save both time and money while ensuring a reliable and leak-free water supply to your toilet. Remember to turn off the water supply, remove the old supply line, and install the new one carefully, and you’ll have a functioning toilet in no time.