Replacing a toilet can seem like a daunting task, but with the right tools and guidance, it can be a straightforward process. In this post, we will provide you with a step-by-step guide on how to replace a toilet.
Gather Your Tools and Materials
You must gather the required tools and materials before you can begin the toilet repair and replacement process. The following is a list of what you’ll need:
- A new toilet
- Wax ring
- Closet bolts
- Screwdriver
- Adjustable wrench
- Putty knife
- Level
- Channel locks
- Gloves
- Towels
Turn Off the Water Supply
The first step in replacing a toilet is to turn off the water supply. Locate the valve behind the toilet and turn it clockwise until it is fully closed. Flush the toilet to remove any water from the tank and bowl.
Remove the Old Toilet
Next, you will need to remove the old toilet. Start by disconnecting the water supply line from the toilet tank using your adjustable wrench. Use your screwdriver to remove the nuts that fix the toilet to the ground. If the nuts are rusted, use channel locks to loosen them. Lift the toilet up and remove it from the flange, taking care not to damage the flange.
Remove the Wax Ring and Clean the Flange
With the old toilet removed, you will need to remove the wax ring and clean the flange. Use your putty knife to remove the wax ring from the flange. Clean the flange thoroughly with a disinfectant cleaner and a rag.
Install the New Toilet
It’s time to install the new toilet now that the flange has been cleaned and prepared. The wax ring should first be centered on the flange before being attached. Then, install the closet bolts onto the flange, making sure they are perpendicular to the wall. Lower the toilet onto the bolts, making sure the bolts go through the holes in the base of the toilet.
Fix the Toilet to the Ground
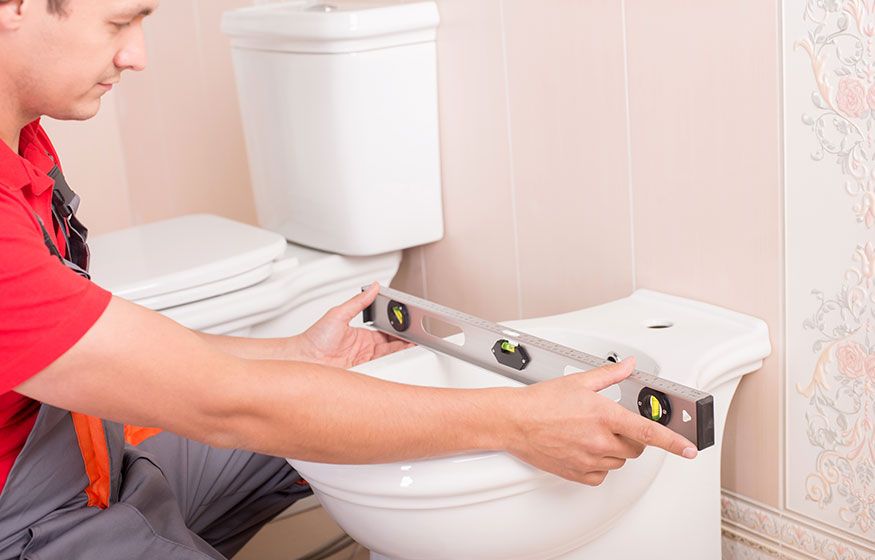
After positioning the toilet, tighten the nuts on the closet bolts to fix the toilet to the ground. Make sure the toilet is stable and level by using your level. Overtightening the nuts can cause the base of the toilet to crack.
Reconnect the Water Supply Line
Reconnect the water supply line to the toilet tank after securing it to the floor. Utilizing your adjustable wrench, tighten the nut, being careful not to overtighten it as this may result in leaks.
Turn On the Water Supply and Test the Toilet
The final step in replacing a toilet is to turn on the water supply and test the toilet. Turn on the valve behind the toilet and allow the tank to fill with water. Flush the toilet several times to ensure that it is functioning properly. Check for leaks around the base and the water supply line.
Replacing a toilet may seem like a complicated task, but by following these simple steps, you can replace your toilet with ease. Remember to gather your tools and materials, turn off the water supply, remove the old toilet, remove the wax ring and clean the flange, install the new toilet, fix the toilet to the ground, reconnect the water supply line, and finally, turn on the water supply and test the toilet. With these steps, you can replace your toilet and ensure that your bathroom plumbing is functioning properly.