Kitchen Faucet Dripping: Causes and Repair Tips

A green background with an orange and yellow logo.

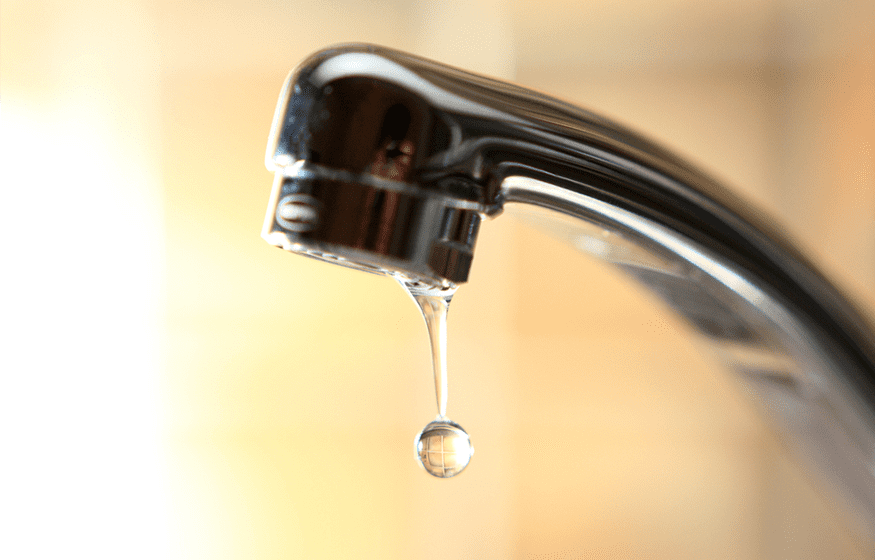
A consistent drip from a kitchen faucet can be a source of annoyance, not to mention the wastage of water and potential increase in water bills. Addressing kitchen faucet dripping promptly is essential to maintain a functional kitchen space and prevent further complications. This article delves into the common causes behind this issue and offers insights into effective faucet repair and replacement.

Unraveling the Causes Behind the Drip

To address the issue effectively, one must first understand its root causes. Faucets are intricate assemblies, and even a minor issue in one of their components can lead to a noticeable drip. Here are some potential culprits:

  • Degraded Washer: A frequently encountered cause for a faucet’s drip is the degradation or incorrect fitting of the washer. Every use of the faucet subjects the washer to pressure against the valve seat. Continuous pressure over prolonged periods can lead to its deterioration, subsequently causing a leak.
  • O-ring Concerns: The O-ring, a diminutive disc fastened to the stem screw, secures the faucet’s handle. If this O-ring becomes slack or shows signs of wear, it might result in leaks around the handle, leading to evident trickles.
  • Valve Seat Corrosion: The valve seat serves as a connection between the faucet and the spout. Sediment accumulation can cause corrosion of the valve seat, leading to leaks around the spout area.

Repairing the Dripping Faucet

Having identified the potential causes, it’s time to explore repair solutions. Here are some steps and considerations to address the problem:

  • Shut Off the Water: Before any repair work, always ensure you shut off the water supply to the faucet. This prevents any unexpected sprays or water wastage during the process.
  • Disassemble the Faucet: Remove the faucet handle, which usually requires unscrewing it. This provides access to the inner components and allows you to ascertain the root cause of the drip.
  • Inspect and Replace: Depending on your initial assessment, focus on the component that might be causing the issue. If it’s a worn-out washer, replace it with a new one of the right size. If the O-ring is the problem, ensure you secure a compatible replacement and install it correctly.
  • Clean the Valve Seat: If sediment buildup or corrosion is observed on the valve seat, clean it thoroughly. This not only addresses the immediate drip but also prolongs the life of the faucet.
  • Reassemble and Test: After addressing the issue, reassemble the faucet and turn on the water supply. Test the faucet to ensure the dripping has ceased and check for any other potential leaks.

When To Consider Replacement

While minor issues can be resolved with repairs, there are times when faucet repair and replacement become necessary. If your faucet is old and repeatedly poses problems or if the dripping is accompanied by other complications, such as inconsistent water flow or visible damage, it might be time to consider a complete replacement.

Concluding Thoughts

Addressing kitchen faucet dripping promptly not only conserves water but also ensures a smooth kitchen operation. While DIY repairs can be effective for minor issues, for complex problems or when in doubt, always consult a professional in the realm of drain plumbing. They can offer expert guidance and ensure your faucet functions optimally for years to come.